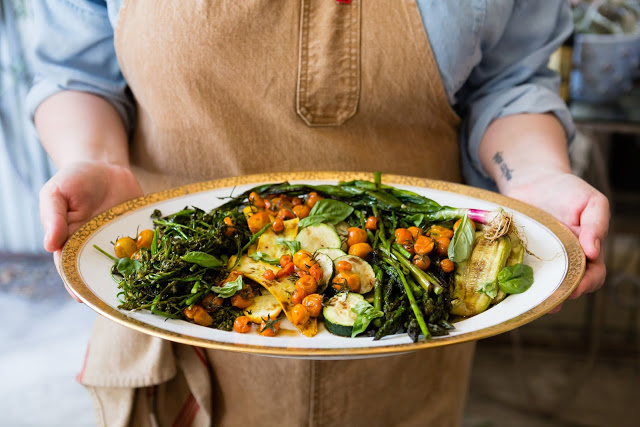
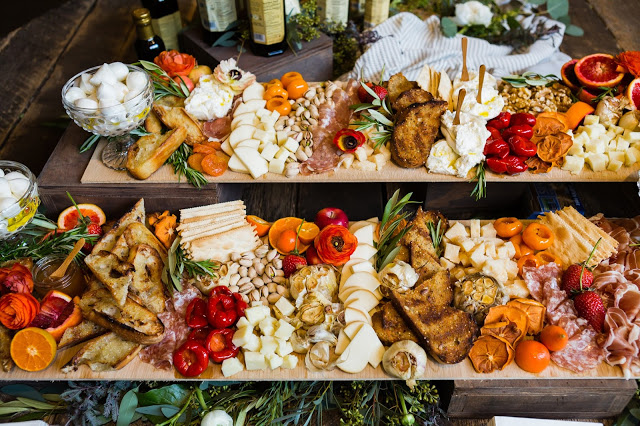
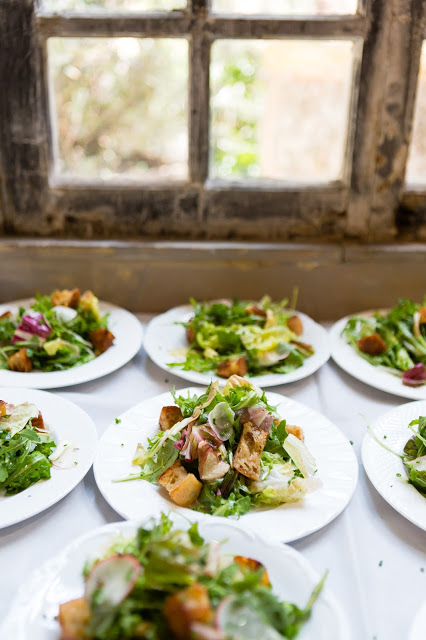
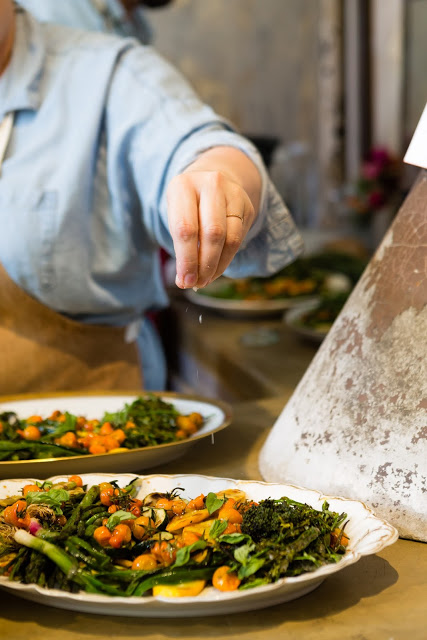
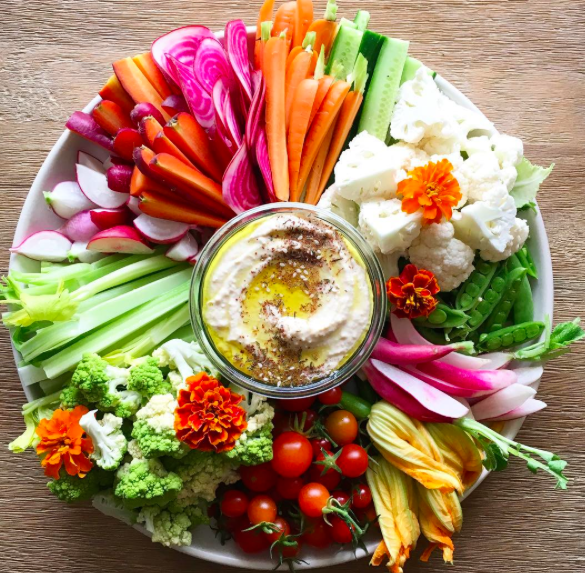
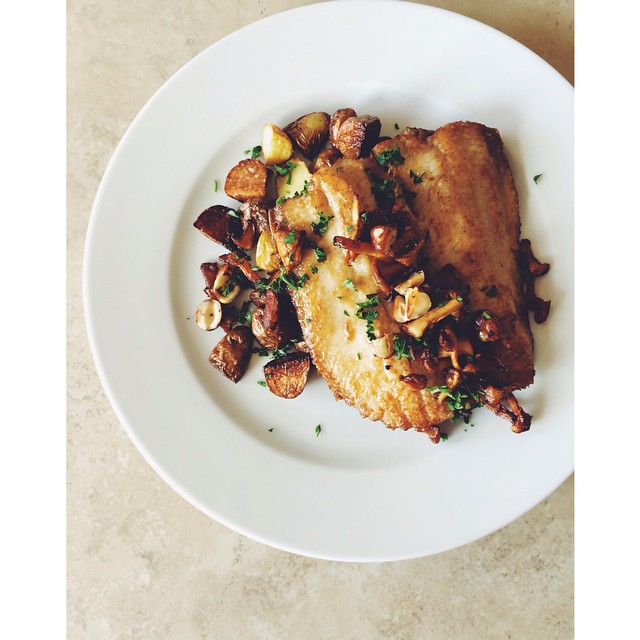
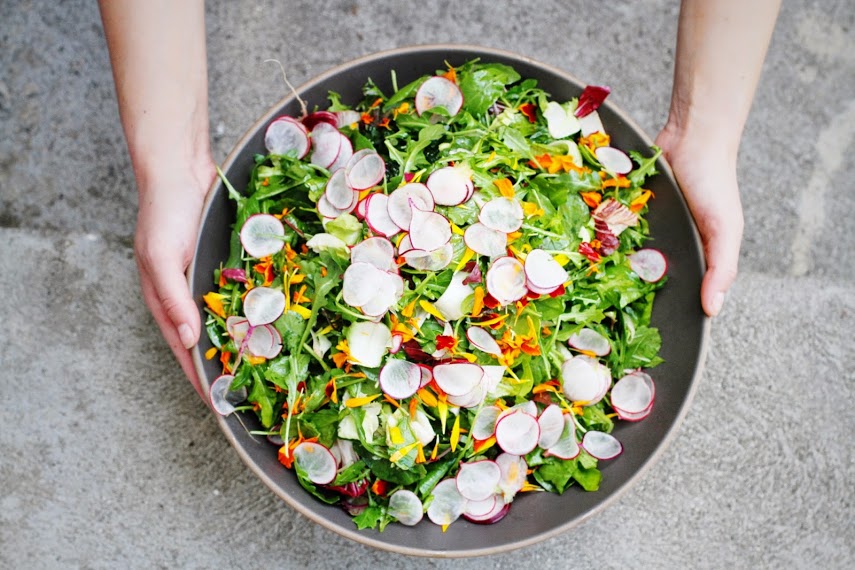
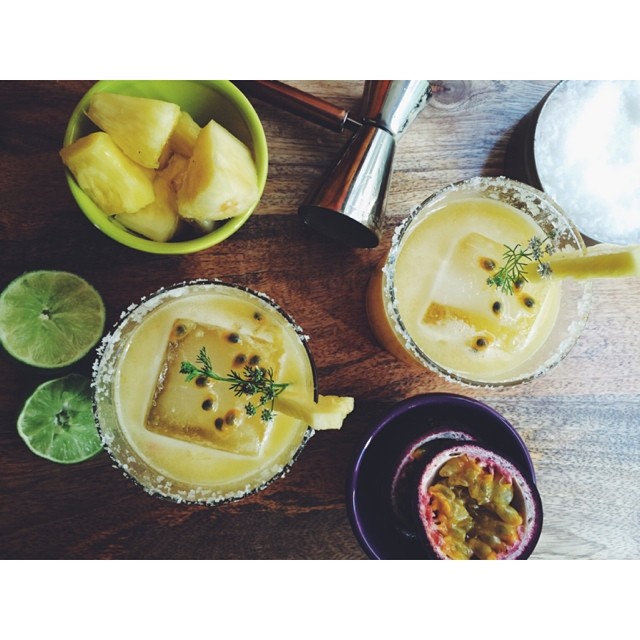
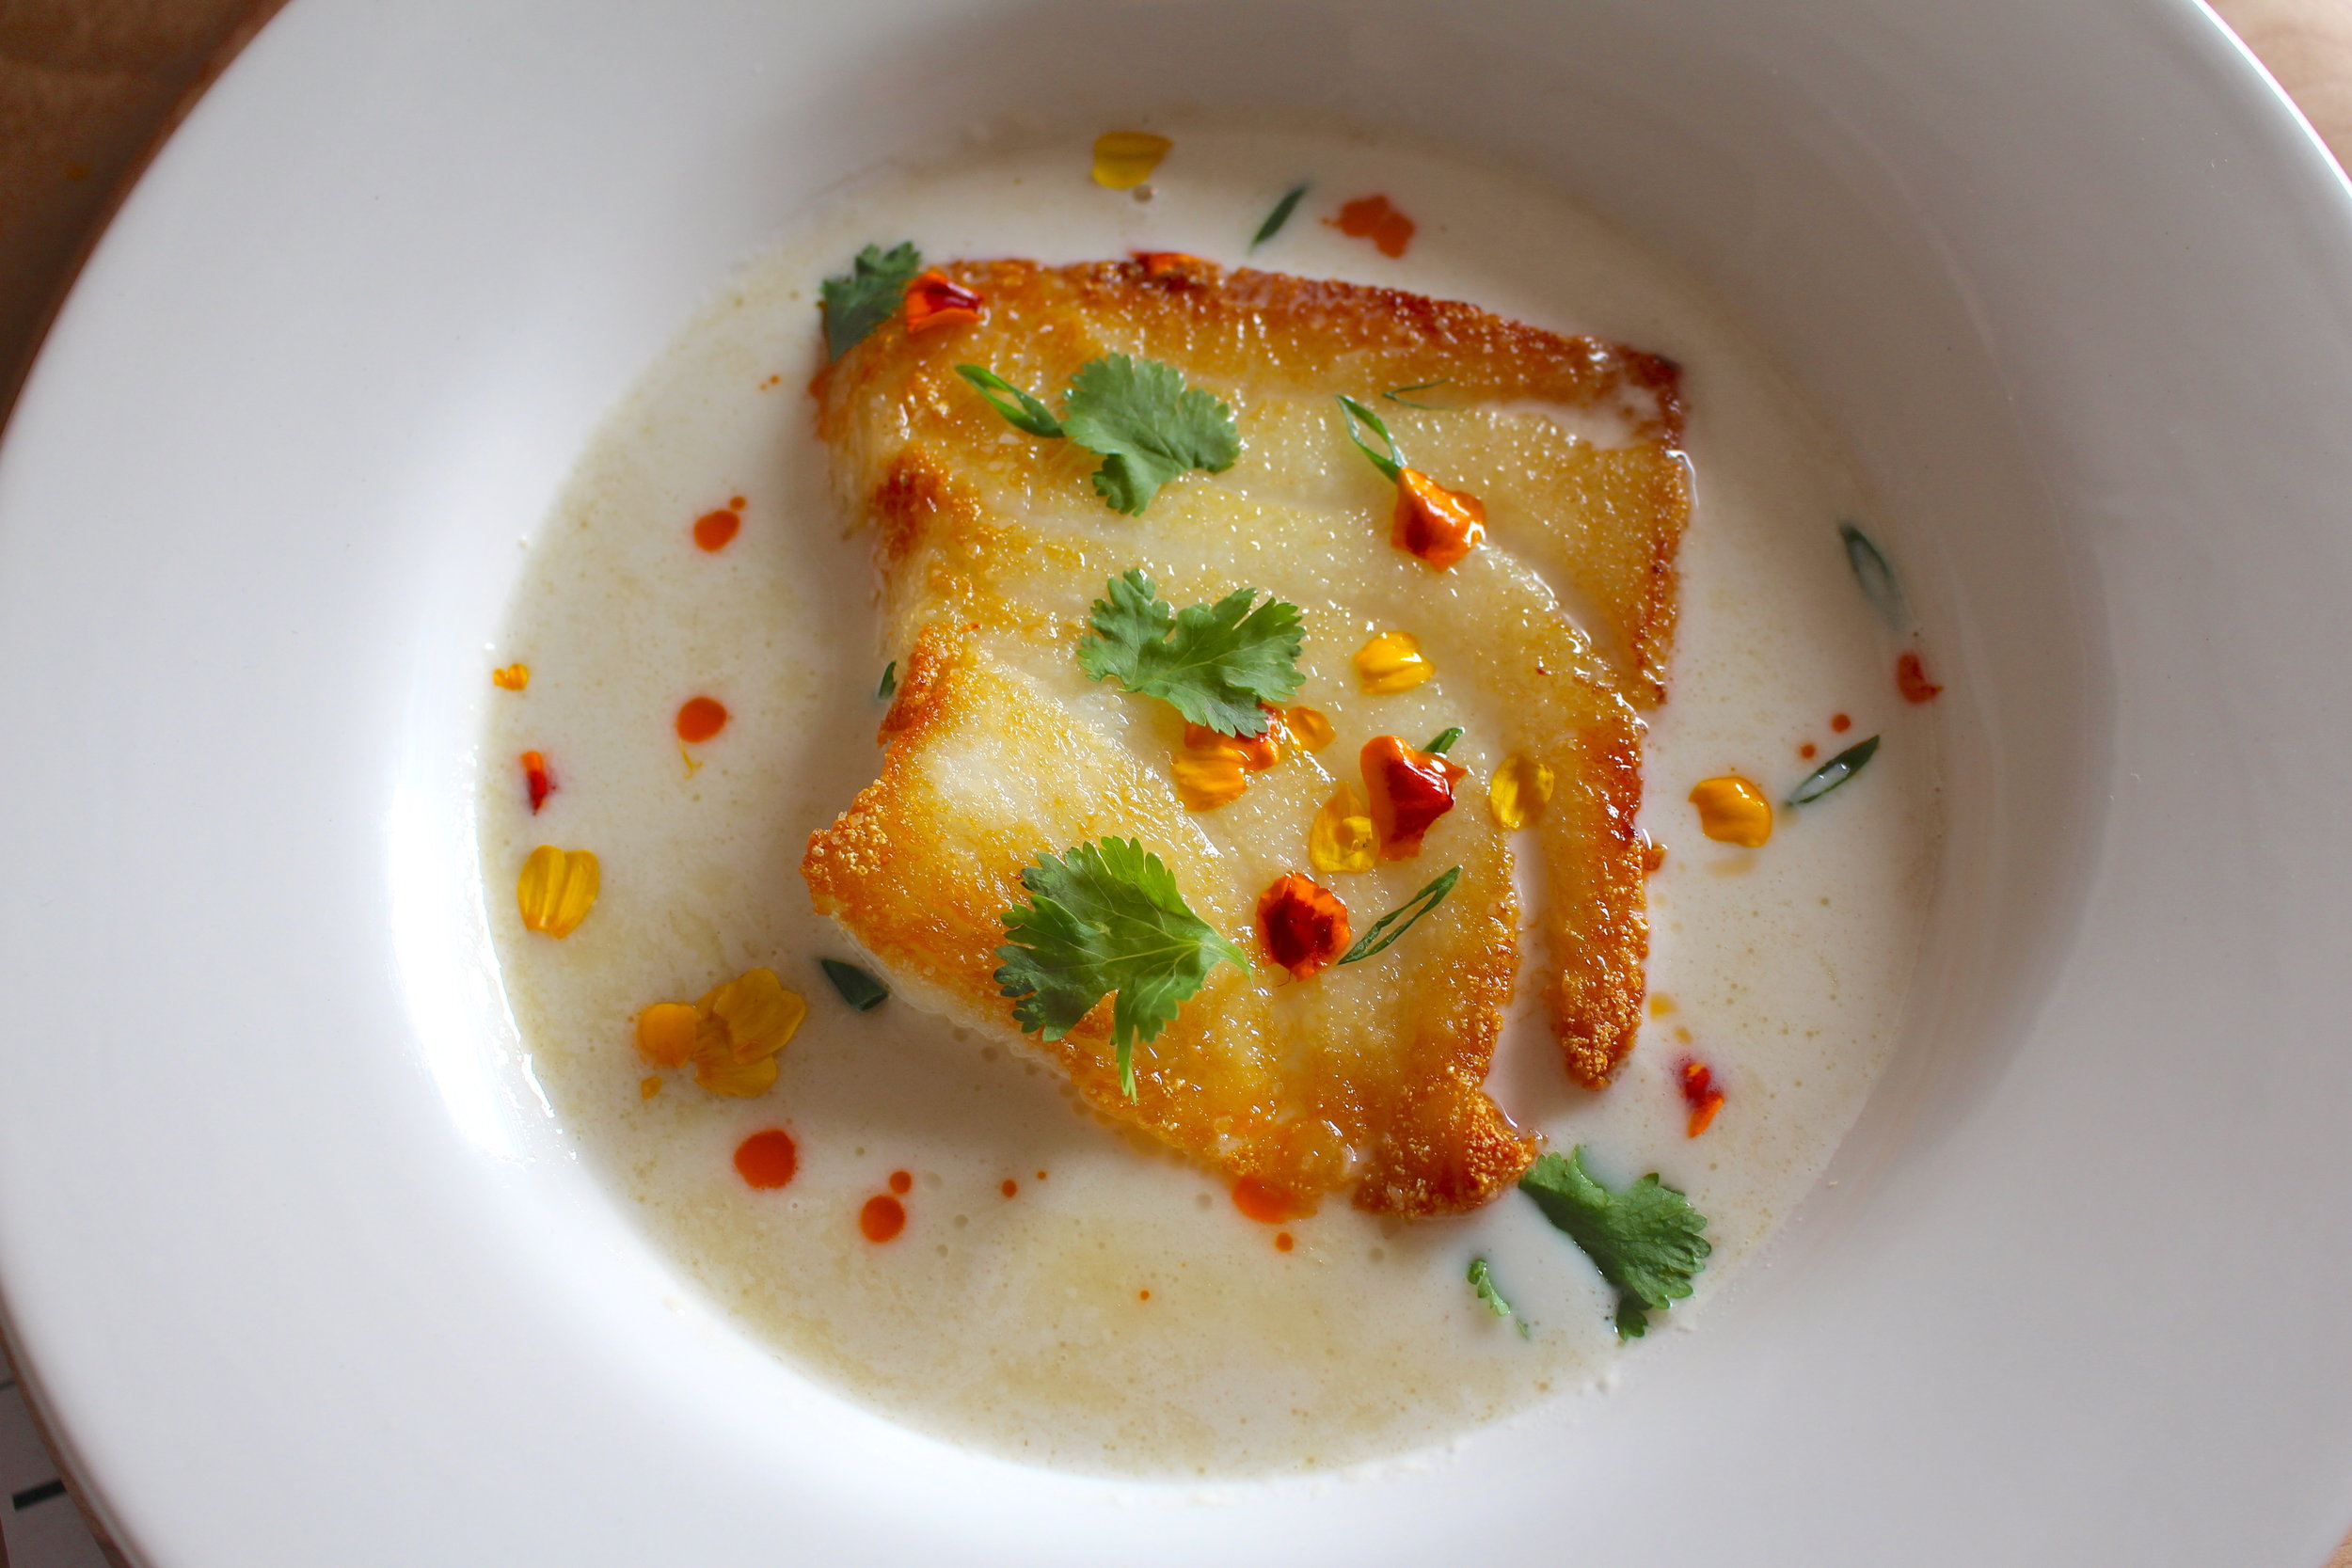
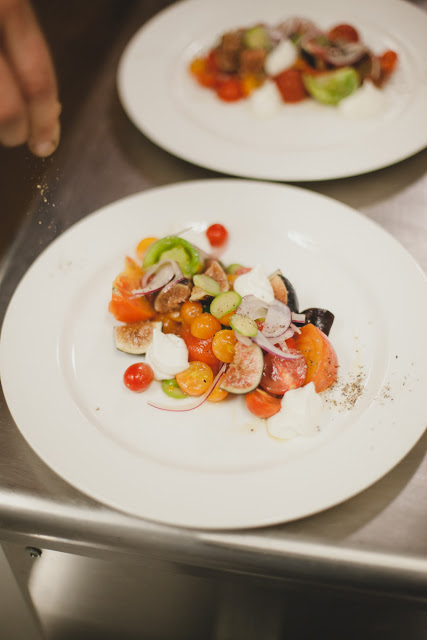
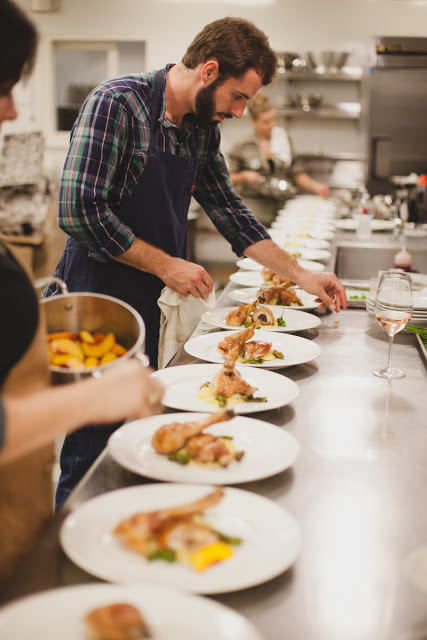
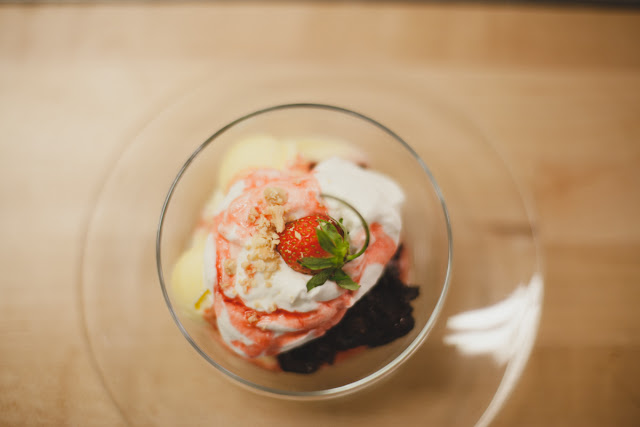
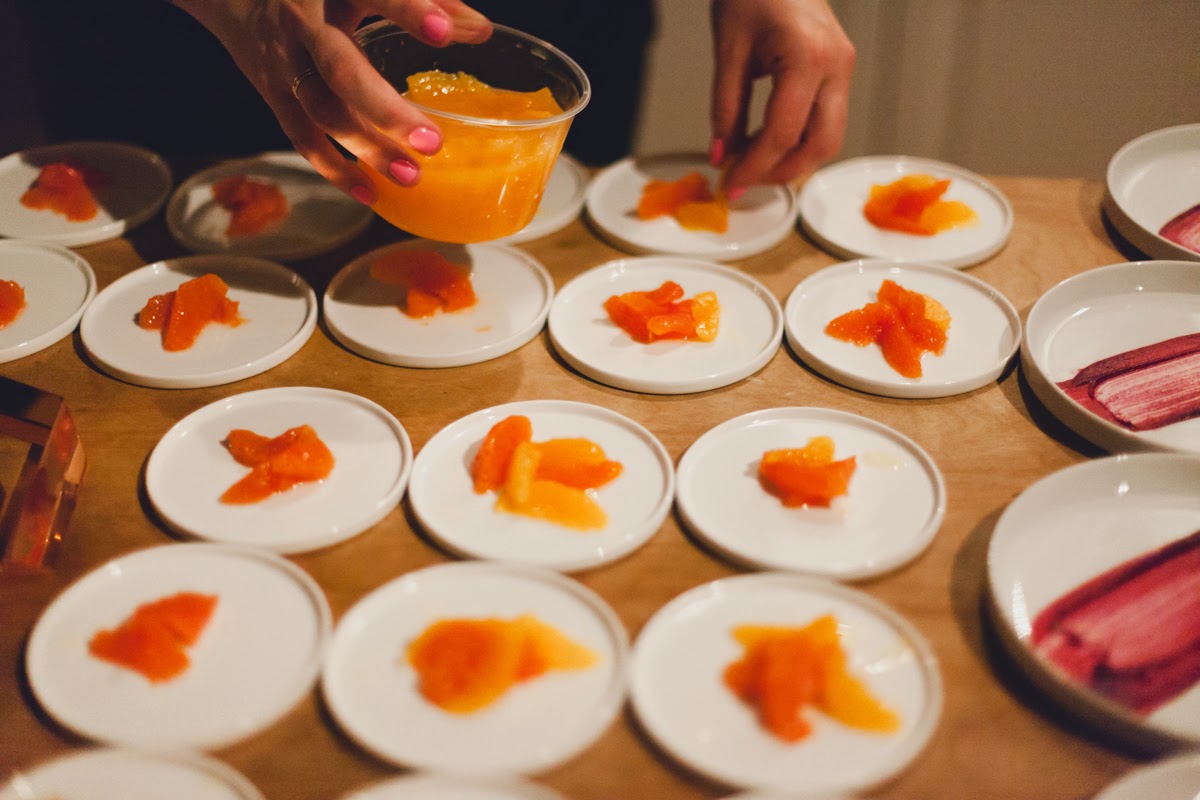
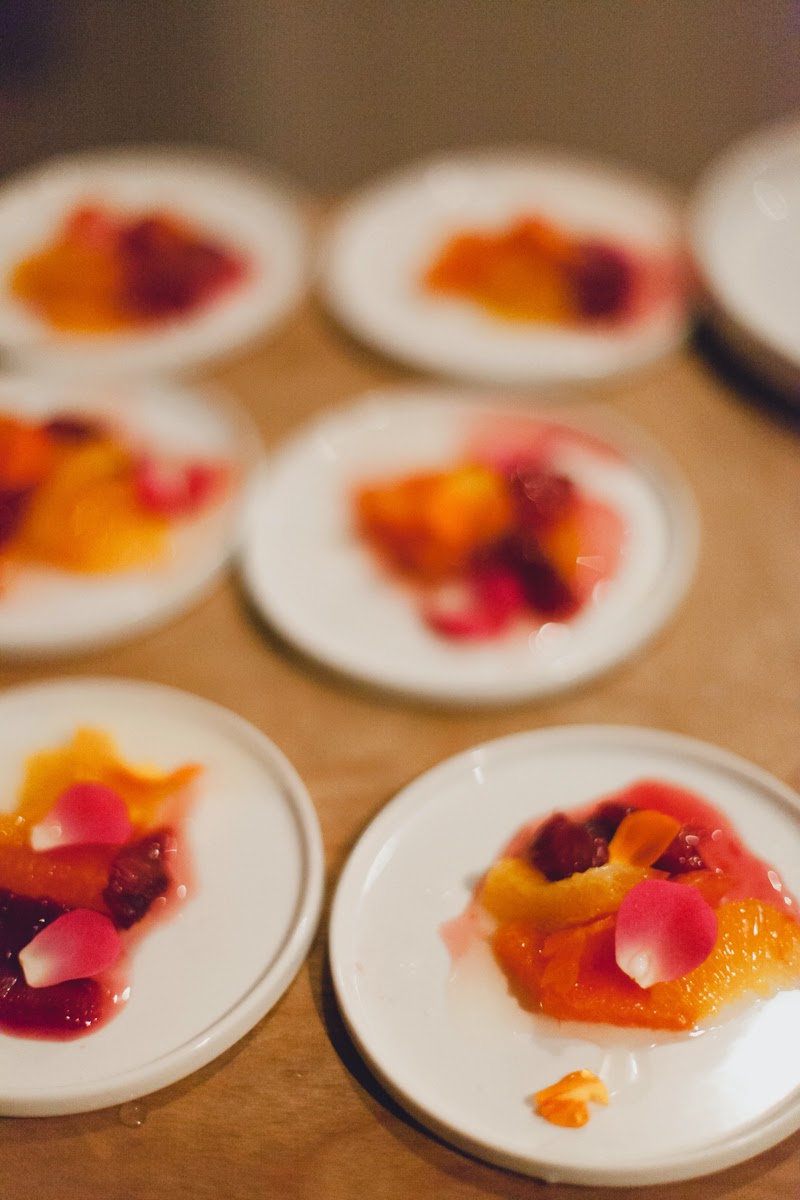
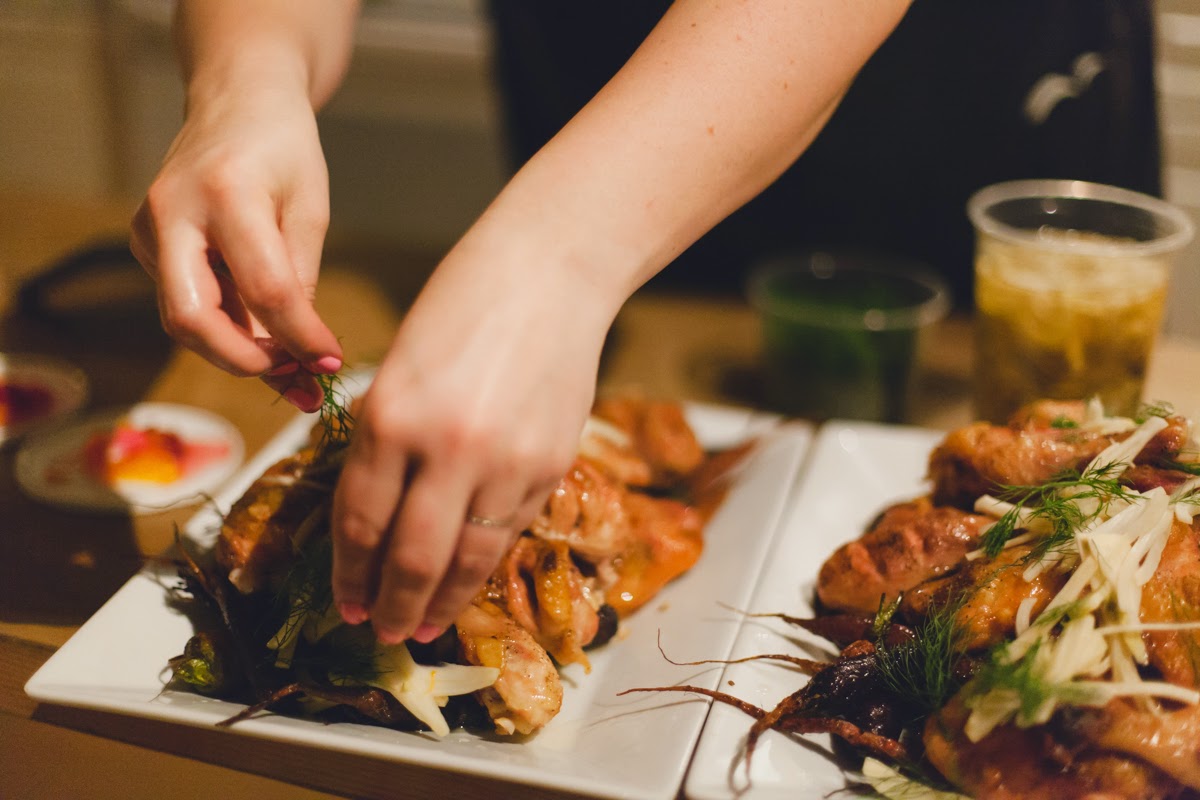
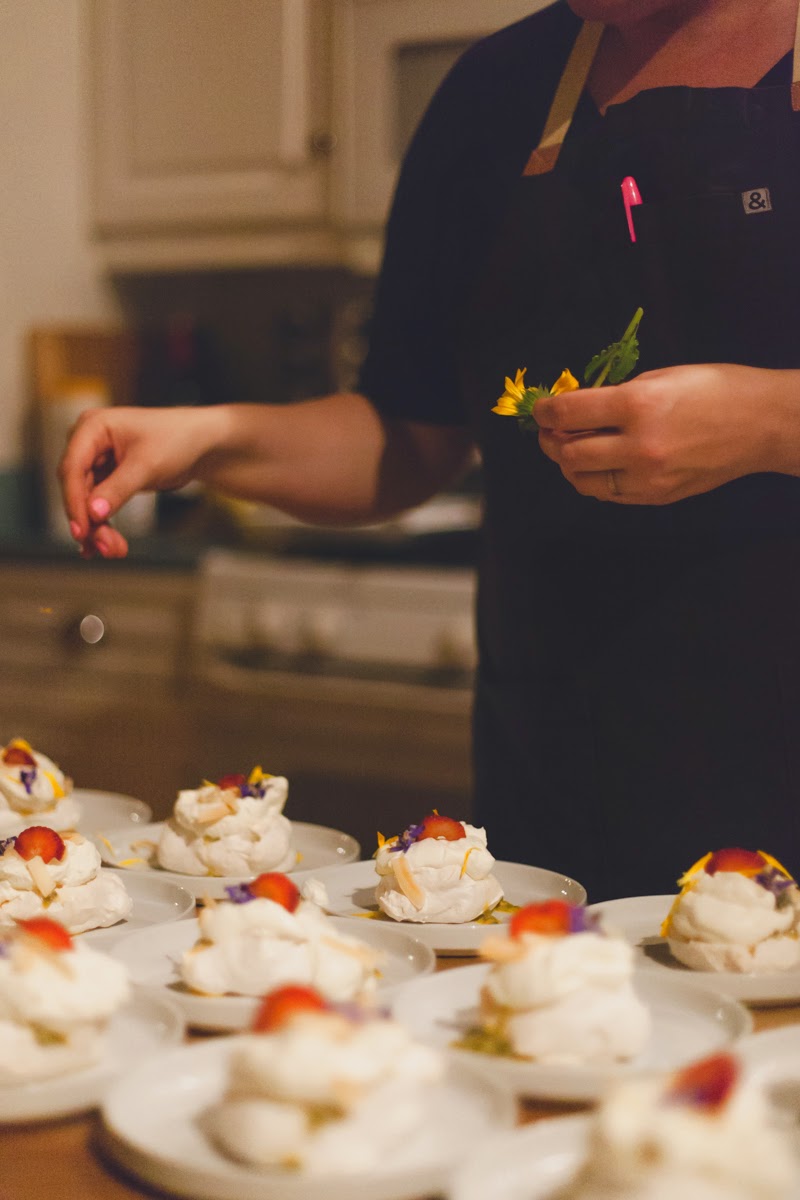
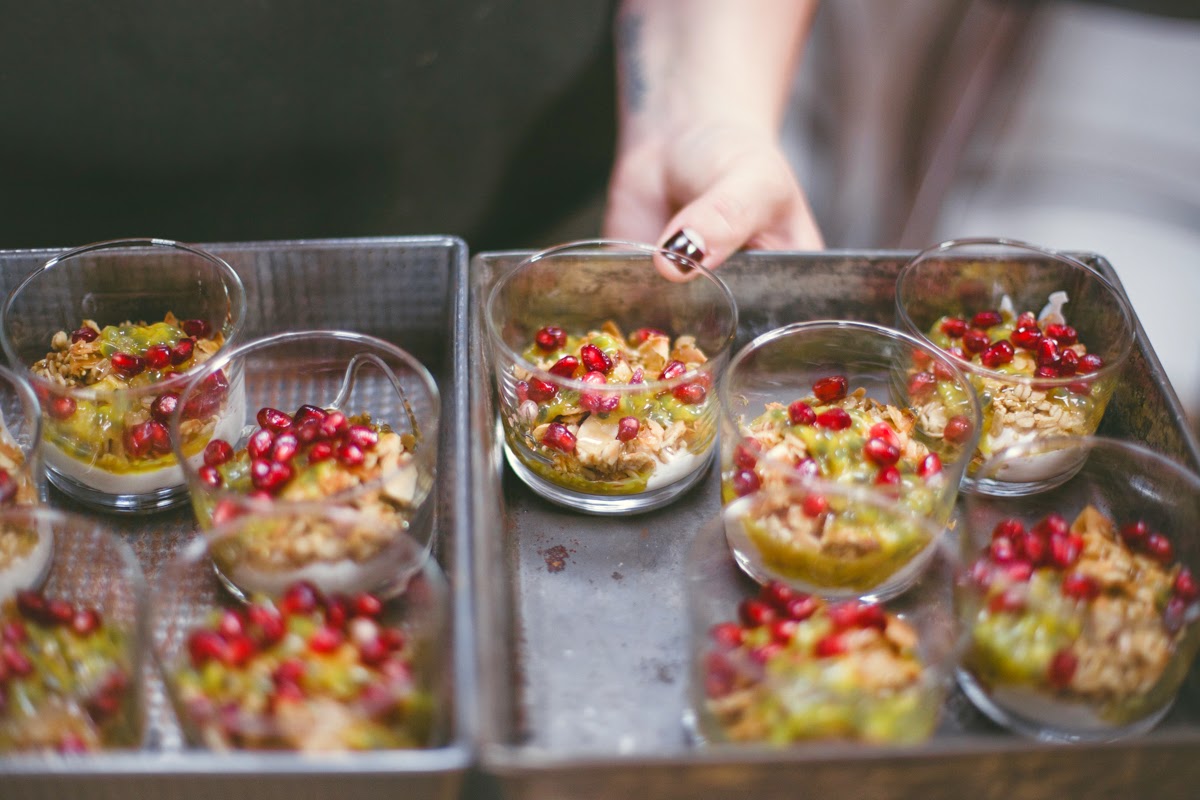
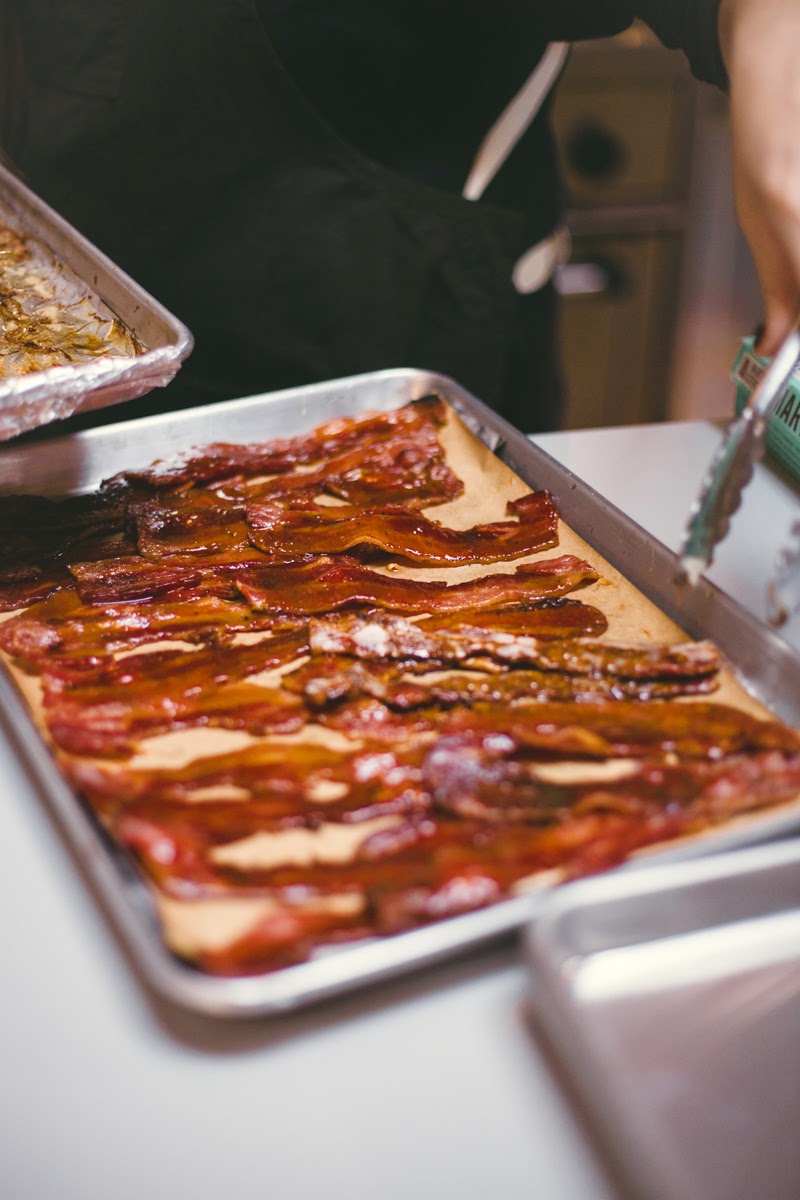
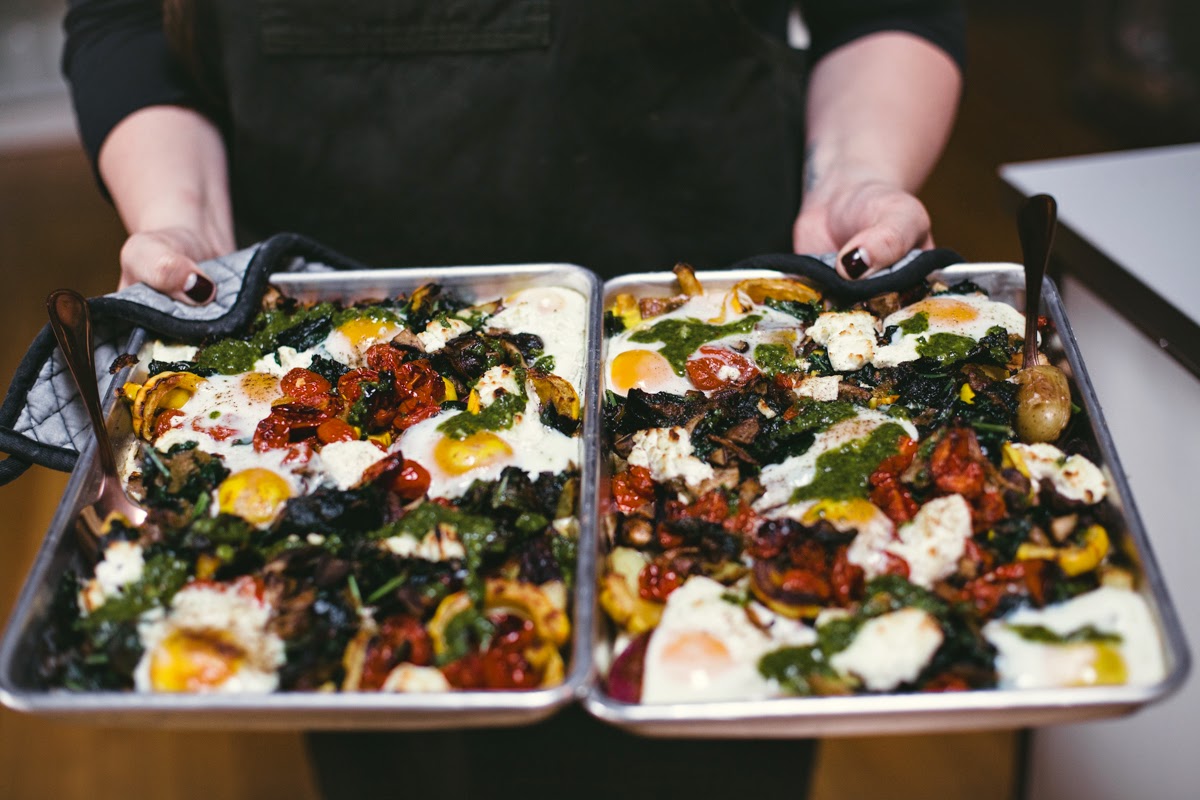
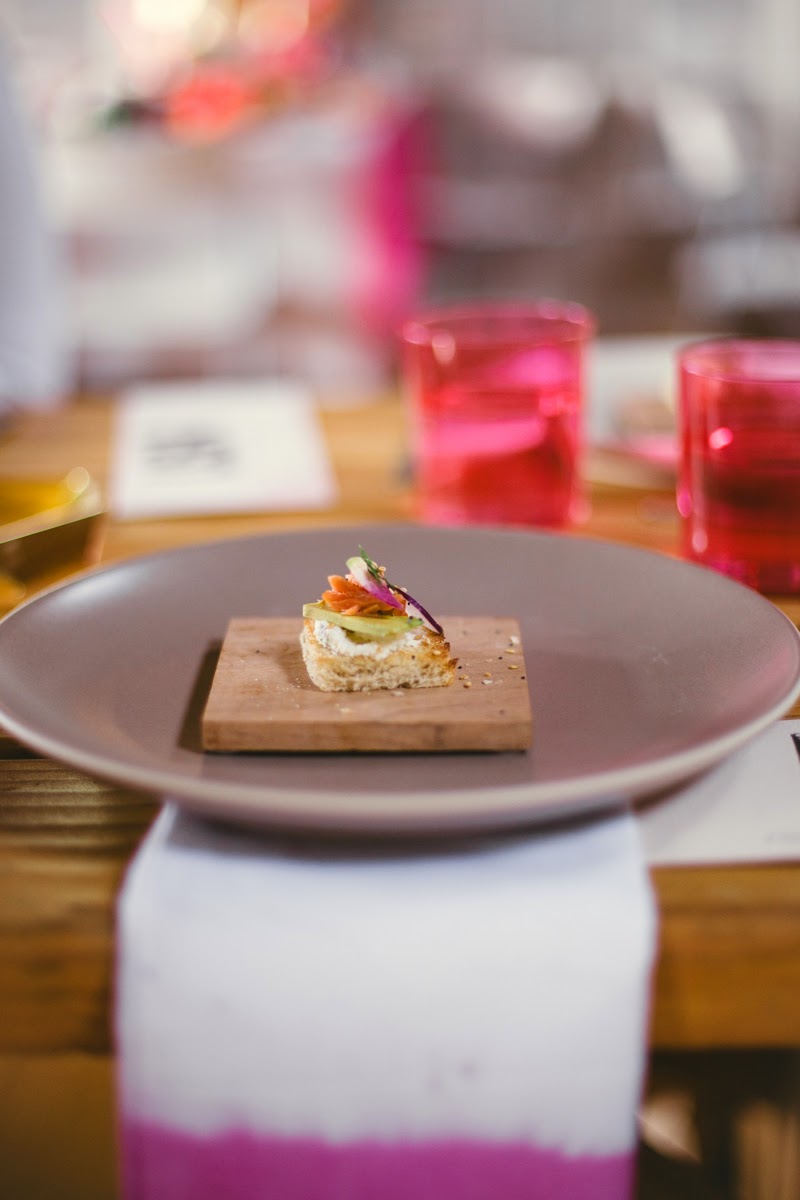
Friday, May 17, 2013

Tangerine Sorbet

 
As citrus season comes to an end, the last cambro of estate tangerines in our walk-in were turned into a refreshing treat, perfect for welcoming the first warm days of summer.
 
This simple recipe has three ingredients and the only special equipment that you need is an ice cream machine. There are several ways you can utilize this sorbet. It is great for a light dessert, or scooping into a glass of champagne, or served between courses to cleanse your palate.


Tangerine Sorbet

makes 3.5 cups
 
 
Ingredients
3 cups freshly squeezed tangerine juice
2 lemons, juiced
1/2 cup ultra fine sugar
 
Method
1. Squeeze juice and pour through a fine sieve to remove pulp and seeds.
2. Stir sugar into juice mixture until dissolved.
3. pour mixture into ice cream machine and run for 20 min.
 
 
4. store in freezer until ready to serve.
 
 
Enjoy!

Tuesday, April 30, 2013

Sparkling Meyer Lemonade

Nothing says "Hello Summer" like homemade Lemonade. Make it even more refreshing by adding a bit of sparkle and then a big dose of chicness when you sub meyer lemons for regular ones. 

This recipe requires less sugar than you would normally need for lemonade since the meyer lemons are sweeter than regular lemons. Meyer lemons originated in China and were introduced to the United States in 1908. They are a cross between a true lemon and either a mandarin or common orange. 

Sparkling Meyer Lemonade 
makes 2 quarts 

Ingredients 
3 cups fresh meyer lemon juice (about 15 meyer lemons)
1 cup sugar 
1 cup water 
1 liter sparkling water 

Method 
1. First you are going to want to make a simple syrup. Place 1 cup of sugar and 1 cup of water in a small saucepan and boil until sugar is dissolved and mixture is slightly thickened. Turn off heat and let cool while you juice your lemons. 


2. Juice your meyer lemons and strain. Add simple syrup to juice. Chill mixture. I store this mixture by itself and then add the chilled sparkling water right before serving (about 50/50 ratio). 
3. For hard lemonade, add a shot of your favorite vodka or limoncello. 

The official first day of summer is June 21st but you can get summer started early with a pitcher of this lemonade. Just add sunshine. Cheers! 

Mother's Day Inspiration

Mother's Day is coming up quicker than ever.
 Here are some of my favorite picks from this year's crop of gift options. 

Antique Rose Mixing Bowl Set (Sweet & Saucy Supply, $68)


Pack a Picnic Champagne Box (Kate Spade, $98)


Coen [oatmeal & turquoise] Linen Beach Towel [or picnic blanket] (Deck Towel, $168)


Mediterranean Olive Tree (Olive & Cocoa, $34)


St Helena Global Salt Trio (Shop Terrain, $25)


Deep Serving Bowl in Tea Green [seasonal collection] (Heath Ceramics, $70)


Organic California Bay Laurel Wreath (Dean and Deluca, $55)


Nested Baker Set [Grey Motif] (Anthropologie, $98)


"Fish Stick" American Denim Apron (Hedley & Bennett, $78)


Indian Animal Cocktail Napkins [set of 4] (Coral & Tusk, $72)


Dijon Mustard Kit [DIY] (Williams-Sonoma, $29.95)


Hudson Valley Seeds [Roots & Leafy Greens] (West Elm Marketplace, $12-18)


Citrus Print (Rifle Paper Co., $24)

KitchenAid Mixer [Pistachio] (Amazon, $349.95)


Luxe Canning Jars (Jayson Home & Garden, $25)


4 Pebble Bowl Set [Limited Edition] (Mud Australia for GOOP, $285)


5 Piece Enamelware Pie Set (Shop Terrain, $128)


Marchesa by Lenox 4-Piece Hostess Set (Bloomingdales, $105)


Jadeite Cake Plates (Neiman Marcus, $35-$55)


Flower Bomb ya Mom with 100 Purple Ranunculus Stems (Flower Muse, $199.99)


Love you mahja. 
Thank you for bringing me into the world. 
You are the loveliest mother of them all. 
 

Monday, April 29, 2013

Pimento Cheese

Pimento cheese has long been a staple in southern households. The secret is out. In recent years it's popularity has spread nationwide gracing menus from coast to coast. In it's most simple preparation, it is spread on crackers, or between two slices of bread. For less guilt,  you can serve it with fresh celery and carrot crudites. Feeling fancy? Use it as a relish on your favorite burger or panini or as a base for oven-baked macaroni and cheese, or your favorite deviled egg recipe. 

Pimento Cheese 
makes 3 cups 

Ingredients 
4 oz cream cheese, room temperature
1/2 cup mayonnaise 
1 cup sharp yellow cheddar cheese
1 cup  extra sharp white cheddar cheese 
4 Tbsp jarred pimento pepper, chopped fine
Pinch of cayenne pepper 
Pinch of garlic powder 
cracked pepper, to taste
kosher salt, to taste 

Method
Mix all ingredients together. I like to whip the cream cheese a bit first to lighten it up and incorporate a bit of air into it. Season. Taste. Season. Store in fridge up to a week. Enjoy.

Sunday, April 28, 2013

Make Your Own Flake Sea Salt


This might be the coolest thing I've ever done. People have been doing it for thousands and thousands of years. It's not something new or trendy or cutting edge. It's literally prehistoric.  

 Sea Salt.


The result of evaporated seawater. Basically, Sodium Chloride.  

Did you know that much of the salt you see today labeled as "sea salt" does not actually come from the sea? As long as it meets the FDA's purity requirements, there is a loop hole that allows people to label their product as "sea salt". Super not cool... right?

Before I go any further I need to give a HUGE THANKS to Chef Gabe (corporate executive chef of Lazy Dog Restaurant & Bar) for inviting me out on his boat and giving me an inside look into the world of sea salt production. Gabe...you da man!

Here is a look at how the process went. 

Step One: Collect Seawater
We met Gabe down at his boat in Dana Point Harbor where we promptly made some strong Bloody Marys (complete with celery seed from Gabe's garden) and headed out to sea.


 We met a couple seals,  made friends with some dolphins, and caught a glimpse of a baby whale all in the first hour.


 He took us a couple of miles off shore where the underwater shelf dropped off and the seawater was pure and clear as glass (thanks to the California Current that runs along the western coast of North America). Once there, he filled a 5 gallon bucket with water...mission accomplished. 


Silly me forgot to bring along a bucket for myself so I found a couple of empty smart water bottles in my car when we got back to the harbor and filled three of them (totaling about 3/4 gallon). I couldn't believe how clear the water was - it looked just like drinking water. 

Step Two: Evaporation
I poured the seawater into a large pot and turned the heat to medium-high. 


Keep the water temperature around 175 degrees, under boiling temperature so that your water is evaporating at a slow, steady rate. After a couple of hours you will notice that your water is starting to appear cloudy - you can actually see the salt - and keep reducing until your seawater resembles a cornstarch slurry - thick and white. Place your seawater brine into a shallow dish or pan and let the sun do the rest of the work. 


Cover it with plastic wrap (poke a few holes so it doesn't get steamy in there) and place it in a sunny spot. After a few days it will be completely dry. Be patient. 


Step Three: Store it 
Store your salt and get ready to use it for finishing all of your favorite dishes.  Have some fun with it...sprinkle a bit on Burrata with a drizzle of extra virgin olive oil ...or on top of homemade semi-sweet chocolate chip cookies...options are limitless. 


Note: My 102  liquid ounces of seawater yielded just under 5 oz of sea salt (by weight) and about 1 full cup of sea salt (by volume). It doesn't take much seawater to produce a nice amount of salt that will last you quite a while considering how potent it is and that you will really only be using it for finishing. Pretty rad to say the least. 

Monday, April 15, 2013

Orange Blossoms

If you have access to orange blossoms, do not let them go to waste. These gorgeous little flowers grow on orange trees and smell like absolute heaven. They are wonderful for making orange blossom (also known as orange flower) water and simple syrup (recipe below). 


Citrus sinensis Osbeck painting by Mary E. Eaton from a 1917 issue of National Geographic

Chances are you have possibly tried orange blossom honey (made when the bees pollinate in citrus groves during blooming period) and if you haven't you should talk to the honey purveyor at your local farmer's market - look for the Bill's Bees stand here at most of the Los Angeles area farmer's markets as they always carry it seasonally.

Orange blossom water is popular in both Middle Eastern and French cuisines and also in lots of fun sweets and bakery items like scones and marshmallows.  My new favorite way to utilize it is in the form of a simple syrup that you can then use to sweeten and flavor iced tea and vodka (or gin) martinis - depending on your mood :) 

To make the simple syrup you must first make the scented water. If you were to buy orange blossom water in the grocery store you will note that it is made with distilled water. You can use distilled water if you prefer it but regular old tap or filtered water works fine too - the difference is simply that the distilled water has zero traces of any sort of naturally occurring minerals or impurities. 

To make the water, first clean your blossom thoroughly - give them a good rinse and check for little buggers. Next, pull the petals apart and slightly crush them as you drop them into a saucepan.  Add about half a cup of water for every 10 blossoms or so. Bring to a boil. Turn off heat, cover, and let set for 2 hours. Strain. And boom...you've got beautiful orange blossom-scented water. 


Now for the Simple Syrup.  

Use the basic ratio of 1 cup of sugar to 1 cup of water. Bring to boil and then simmer for about 10 minutes or until all of the sugar is completely dissolved and your liquid has a slight "syrup-like" consistency. Turn off Heat. Store in a glass jar or squeeze bottle in your fridge for up to a month. 

Monday, April 8, 2013

Soyrizo Chili Con Queso Dip

I've got the perfect snack to share with you on this Meatless Monday and morning of the NCAA Championship game. For those of you watching the game from home, this one is for you!

Instead of using chorizo, I substituted Soyrizo (I love the one at Trader Joe's). If you aren't already a fan of Soyrizo, you soon will be. It is made from Textured Vegetable Protein (TVP) also known as Textured Soy Protein (TSP). I first encountered TVP in culinary school and was shocked at how similar the texture was to ground meat.

TVP is often used as a meat "extender" due to its low cost and high nutrition.  For example, most people have tried a Jack in the Box Monster Taco at some point (I've had my fair share) but what most people don't know is that the meat filling is part ground beef, part TVP. Surprise Surprise. So, chances are that even if you haven't tried Soyrizo, you have indeed tried TVP at some point in your life.

You can buy TVP at Whole Foods in the grain aisle (Bob's Red Mill makes a good one) and experiment with vegan and vegetarian versions of dinner classics like Sloppy Joes, Tacos, Spaghetti Bolognese, Chili con Carne, and Burritos. I've also used it to make maple breakfast "sausage" patties - bottom line, it is extremely versatile.

For the salsa in this recipe I suggest using a restaurant-style one; my two favorites are the fire-roasted salsa from Casa Sanchez (at Whole Foods) and the homestyle salsa especial made by Trader Joe's.  You can also substitute light cream cheese and light (or fat free) sour cream or greek yogurt if you would like. Serve the dip with your favorite corn tortilla chips.

Soyrizo Chili Con Queso Dip
serves 6


 Ingredients
 12oz package of Soyrizo
8 oz bar of Cream Cheese
3/4 cup restaurant-style salsa
1/2 cup shredded cheddar (or pepper jack cheese)
1/2 lime, juiced
1 jalapeno, small diced (leave seeds if you like spicy)
1/3 cup sour cream
scallions or cilantro (or both) chopped for garnish

Method
1. Place your soyrizo and diced jalapeno in a pan and let the soyrizo brown up (2-3 minutes)
2. Add cream cheese, salsa, and lime juice and simmer until cream cheese is fully melted.
3. Stir in shredded cheese and simmer until melted. Turn off Heat.
4. Stir in Sour Cream. Top with Chopped Cilantro and Scallions.
5. Serve immediately with corn tortilla chips. Enjoy!

Sunday, April 7, 2013

Funfetti Birthday Cake

I first wrote about Momofuku's Pastry Chef, Christina Tosi, about three years ago (read it here). I've read the Momofuku Milk Bar cookbook cover to cover and I love her process and reasoning behind each product and recipe in the book. This recipe is a slight adaption of her "Birthday Cake" - the most delicious funfetti cake ever. 

There are a couple of things in this recipe that are not mainstream ingredients (IE glucose, citric acid, and clear vanilla bean extract). I found the glucose and citric acid quite easily at Surfas Culinary District here in Los Angeles but had no luck with the clear vanilla extract and no time to buy it online. I used regular brown extract and it was a fine substitute.  

If you are wondering, why she uses these ingredients, here's a quick breakdown:

Citric Acid: it provides tartness without imparting any flavor or added liquid

Glucose: reduces chance of sugar crystallization and bonds ingredients 

As far as equipment goes you will need a 6-inch cake ring, 2 strips of acetate (found easily at sur la table or williams-sonoma or surfas), and a quarter sheet pan. 

NOTE: if you want to enjoy the shortcut version of this recipe, make some cupcakes! I want to give you this option now as this recipe and process is not for the faint of heart or those short on time. 

One other note, I omitted the birthday cake crumb topping that Tosi suggests using in her book and instead topped my cake with leftover cake crumbs and edible rainbow glitter. 

Funfetti Birthday Cake
Makes 1 6-inch cake, 6-8 servings
[adapted from the Momofuku Milk Bar cookbook]


Cake Ingredients
4 Tbsp Butter, room temperature
1/3 cup vegetable shortening
1 1/4 cups granulated sugar
3 Tbsp light brown sugar, tightly packed
3 large eggs
1/2 cup buttermilk
1/3 cup grapeseed oil (or canola)
2 tsp vanilla extract
2 cups cake flour 
1 1/2 tsp baking powder
3/4 tsp kosher salt 
1/4 cup + 2 Tbsp rainbow sprinkles

Cake Method
1. Heat oven to 350 F
2. Combine butter, sugars, and shortening in bowl of a stand mixer fitted with paddle attachment. Cream together for 2-3 minutes at medium-high speed. Scrape down bowl and add eggs. Mix for another 2-3 minutes. Scrape down again. 
3. On low speed, stream in buttermilk, oil, and vanilla. Increase speed to medium and mix for 4-6 minutes until the mixture is white and twice the size of the original fluffy butter and sugar mixture. Don't rush this process. There should be no fatty streaks or broken liquid - it needs to be one homogeneous batter.  Once there, stop and scrape bowl again. 
4. On lowest speed, add cake flour, baking powder, salt, and 1/4 cup of rainbow sprinkles. Mix just until your batter comes together. Scrape bowl. 


5. Spray sheet tray with pam and line with parchment. Spread batter evenly into pan. Sprinkle remaining rainbow sprinkles over batter. Bake for 30-35 minutes or until it is golden brown and an inserted toothpick comes out clean. 

[note: this is not a quarter sheet tray - it is a half, as I doubled the recipe]

6. Let cool completely.  Make your frosting while you are waiting. You can cheat by cooling in the freezer or fridge if you want. No judgement here :)

Birthday Frosting Ingredients
8 Tbsp (1 stick) butter, at room temperature
1/4 cup vegetable shortening
2 oz cream cheese
1 Tbsp glucose  
1 Tbsp corn syrup
1 Tbsp vanilla extract
2 cups confectioner's sugar 
1/2 tsp kosher salt 
pinch baking powder
pinch citric acid

Birthday Frosting Method
1. Combine butter, shortening, and cream cheese in the bowl of your stand mixer. Using paddle attachment, mix for 2-3 minutes until smooth and fluffy. Scrape down bowl. 
2. On lowest speed, add glucose, corn syrup, and vanilla. Beat for 2-3 minutes on medium-high speed until silky smooth and glossy. 
3. Add sugar, salt, baking powder, and citric acid and mix on low speed to incorporate. Move speed to medium-high and mix for another 2-3 minutes. Boom. you're done. 

Building your Cake:

You need one more component: Birthday Cake Soak. This is 1/2 cup of whole milk and 1 tsp of vanilla extract in a small bowl that you will brush on each cake layer for added moisture as you are building (think tres leches cake but not quite as wet!). 

OK. To build the cake you need to first put a piece of parchment on the counter and invert your cake onto it. Use your cake ring to cut 2 circles from the cake (these are your top 2 cake layers) and keep the remaining cake "scrap" to use for the bottom layer of your cake. 

Clean your cake ring and position it on a clean sheet of parchment paper on a flat plate. Use 1 strip of acetate to line the inside of the cake ring. Put your cake scraps down into the ring as your bottom layer. Lightly pack it together into an even layer (as even as possible). Brush with 1/3 of your milk soak. Spread with 1/3 of your frosting. 

With your index finger, gently tuck the 2nd strip of acetate between the cake ring and the top 1/4 inch of the first strip of acetate so that you have a clear ring of acetate that is 5-6 inches tall. Set one of the cake rounds on top of your first frosting layer. Brush with another 1/3 of the milk soak and another 1/3 of the frosting. 

Repeat with the final layer of the cake. Then wrap with plastic wrap and freeze for at least 12 hours (or up to 2 weeks) and then pull it out at least 3 hours before you need to serve it. While it is frozen, peel off the acetate and remove cake ring. 

Slice into wedges and serve. Enjoy! 

Friday, March 29, 2013

Hot Pepper Jelly

It's Easter weekend and that means I am just hours away from joining my tribe out in the desert as we have done every Easter since I can remember. It is the one time of year that I get to see my whole family - all of us in one place. It's something that I look forward to all year long.

I wanted to bring along a little gift for everyone - something made with love. 

Hot Pepper Jelly seemed like the perfect treat. I canned each portion in weck jars and finished them off with a kraft paper label designed by Wylie West Creative.

Hot Pepper Jelly 
makes 6, 8oz jars 


Ingredients 
10 Serrano Chilis (slice in half, keep seeds intact in 5, and then slice into thin slices)
4 Red Bell Peppers (deseeded and small diced)
4 Orange Bell Peppers (deseeded and small diced)
4 Yellow Bell Peppers (deseeded and small diced)
10 Jalapenos (deseeded and small diced)
1 Habanero (keep seeds and small diced)
2 Anaheim Peppers (deseeded and small diced)
1 cup Apple Cider Vinegar
1 cup Water
1 box Pectin
5 Cups Sugar 

Method


1. Bring everything but the sugar to a boil. 
2. Add sugar and bring to a boil again. Maintain boil for 5 minutes.
3. Simmer for 25-30 minutes until peppers are translucent and jelly is visibly thickened. 
4. Can according to manufacturer instructions. If you plan to use within a 2-3 weeks, there is no need to can the jelly - it will store just fine in a jar in your fridge for quite a while. 
5. Enjoy! 


Serving Suggestions: 
1. Serve with Goat Cheese & Crackers 
2. Make a Gratin - cover goat cheese or cream cheese with layer of jelly in small dish and bake at 400 until bubbly & hot & then spread on crostini
3. Add a bit to your favorite stir-fried vegetables with a dash of soy sauce  
4. Brush it onto Salmon with a squeeze of fresh lime juice and Broil or Grill 
5. Use it as a spread on Turkey Burgers or Grilled Chicken Sandwiches 
6. Add it to cheesy quesadillas or grilled fish tacos 
7. Add it to margaritas for a pepper infused masterpiece 

Tuesday, March 26, 2013

Olive Oil Cake

As far as cake is concerned, olive oil cake is the absolute chicest of them all. 

I know you aren't used to hearing the word "cake" and "chic" in the same sentence, but trust me, this cake is as classy and effortlessly stylish as they get. The flavors are modern and timeless at the same time; bold extra virgin olive oil, bright fresh citrus notes, and a lightness that can only come from the simple folding of perfectly whipped egg whites into your batter. 

Use the best quality extra virgin olive oil that you can find. I used cold-pressed extra virgin olive oil made by my parents at their small vineyard estate in Northern California which made for a fruitier, more pronounced olive-oil flavor. If you aren't a fan of that flavor, simply use a milder regular (non-virgin) olive oil. 

 There are several ways to serve it. In this case I took some kumquats and cooked them down in sugar and water to make a beautiful syrup and compote that I brushed and topped each individual cake with. 

I love baking cakes in individual portions when the recipe permits and this one is ideal for it! To make the perfect little domed cakelets I baked the batter in mini latte bowls ($20 for 8, Anthropologie)

When it came time to serve them I cut them in half like a shortcake and filled them with fresh-cut strawberries and chantilly cream. They can, of course, be served alone or with a scoop of ice cream or sorbet as well. 

Olive Oil Cake 
makes 6 mini cakes


Ingredients 
3/4 cup extra virgin olive oil 
1 large lemon, juiced & zested
1 cup AP Flour 
5 large eggs, separated
1 cup sugar 
1/2 tsp kosher salt
pam baking spray 

Method
1. Preheat oven to 350
2. Spray mini latte bowls with pam baking spray and place on a lined sheet tray
3.Whisk together lemon zest and flour. 
4. In another bowl, use an electric mixer or whisk to beat together yolks and 3/4 cup sugar until pale and thick. (2-3 minutes). Reduce speed to medium and add olive oil and lemon juice, until just combined.  Next, stir in flour mixture until just combined as well. 
5. In another bowl, whip egg whites with 1/2 tsp kosher salt at high speed until super foamy and then slowly add the last 1/4 cup of sugar slowly until soft peaks start to form (about 2-3 minutes). 
6. Fold 1/3 of the whites into the batter initially and then fold in the remaining whites gently until combined. 
7. Pour batter into mini latte bowls and gently knock them against the kitchen counter to release any trapped air bubbled in the batter. Bake for about 35 minutes or until puffed up and golden ad a wooden pick comes out clean. Let cool 10 minutes before inverting cakes. 
8. Brush with warm kumquat syrup (optional). Let Stand until ready to serve. 
9. Enjoy!